


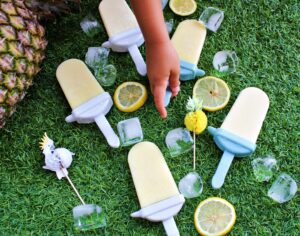
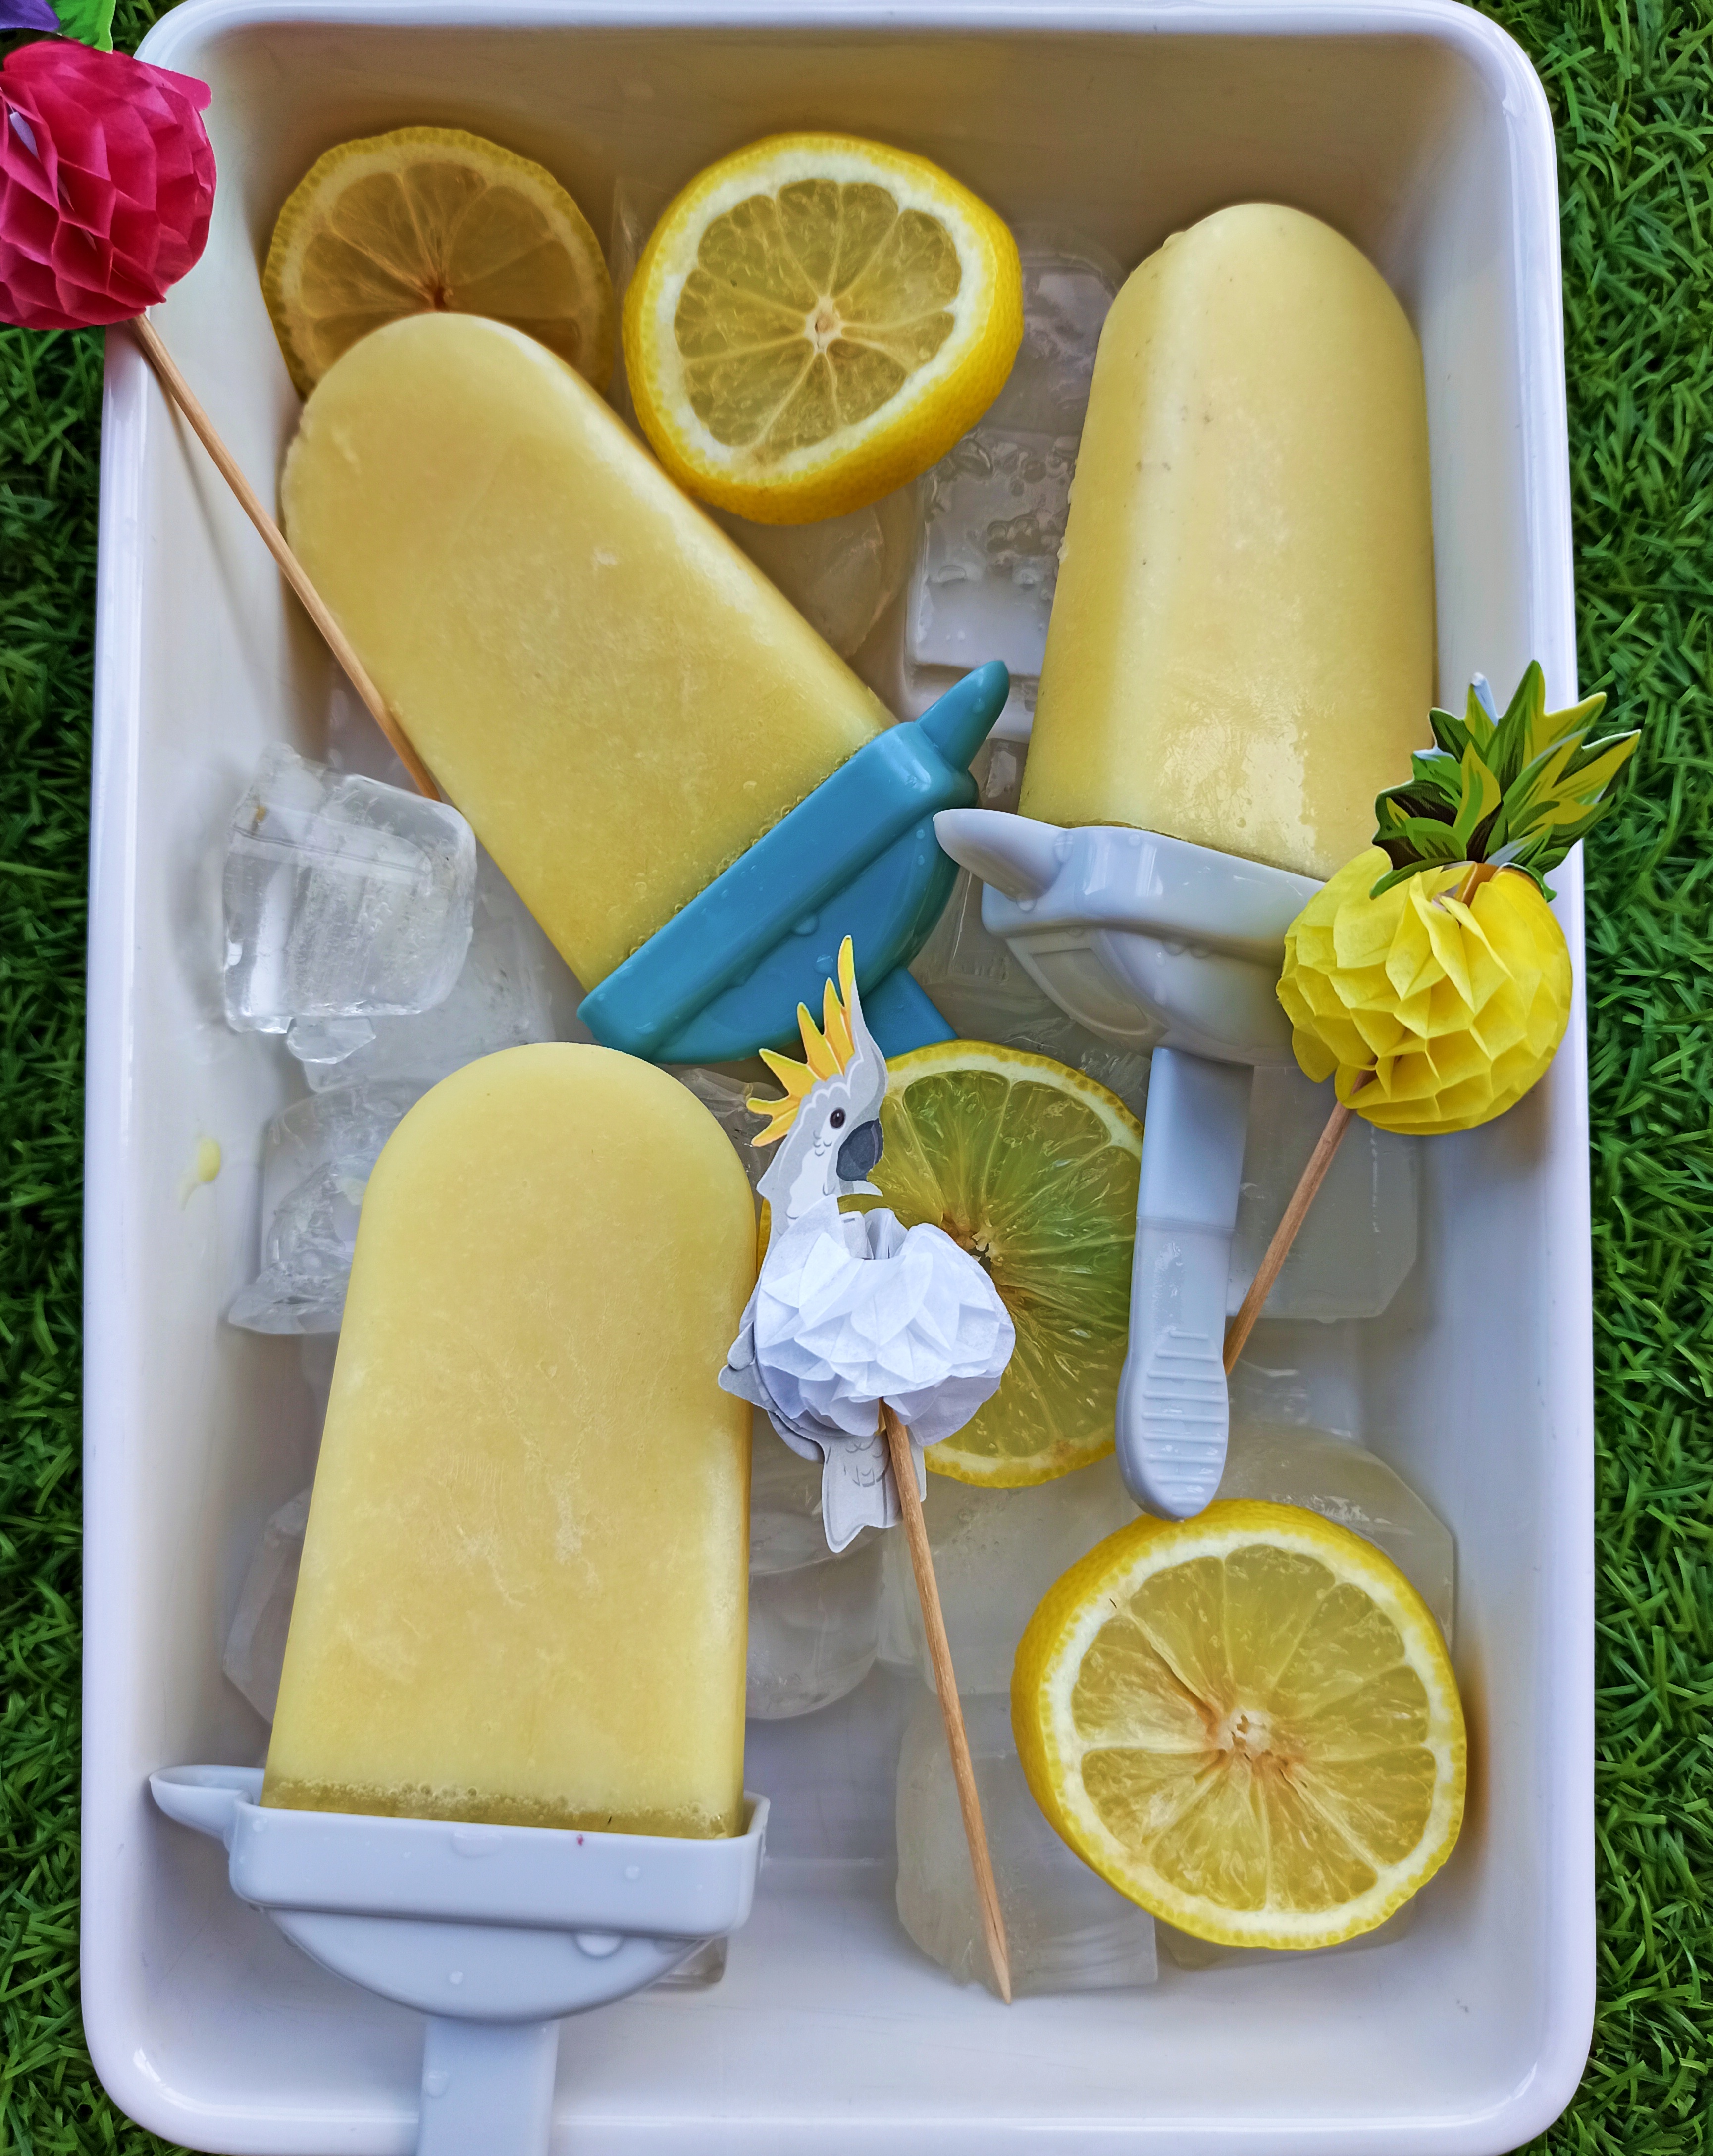
These Pineapple Coconut Popsicles are an ideal frozen treat for hot summer days. Our whole family enjoys this guilt-free dessert.
🌴 Benefits of Making Pineapple Coconut Popsicles at Home 🍍🥥
Making Pineapple Coconut Popsicles at home isn’t just fun—it’s a delicious and healthy way to enjoy a tropical treat. Here’s why homemade popsicles are a game-changer for your kitchen and your taste buds:
1️⃣ Control the Ingredients ✅
When you craft popsicles from scratch, you have full control over what goes in. Unlike store-bought options, your homemade pineapple coconut popsicles can be free from artificial preservatives, excess sugar, and other additives. This means you can enjoy a wholesome, guilt-free treat that complements a balanced diet.
2️⃣ Customize Flavors to Your Taste 🍹
Homemade popsicles give you the freedom to experiment. Want a zesty twist? Add a splash of fresh lime juice 🍋. Craving texture? Mix in shredded coconut or small pineapple chunks for an extra burst of flavor. The possibilities are endless!
3️⃣ Get Creative with Unique Combinations 🎨
Making popsicles at home opens the door to endless flavor combinations. Blend in other fruits like mango 🥭, banana 🍌, or passion fruit 🥭, or even try a hint of turmeric for an exotic tropical twist. Your popsicles can truly reflect your creativity and personal taste.
4️⃣ Perfect for Dietary Restrictions 🥥💚
If you have dietary needs, homemade popsicles are incredibly versatile. Swap in dairy-free coconut milk, use natural sweeteners, or tailor the recipe to fit allergy-friendly diets. Everyone can enjoy these frozen delights!
5️⃣ Fun and Rewarding Kitchen Activity 🎉
Beyond taste and nutrition, making your own pineapple coconut popsicles is simply fun. It’s a creative and rewarding activity that brings joy to both kids and adults—and the satisfaction of tasting your own creation is unbeatable.
So, grab some fresh pineapple 🍍, creamy coconut 🥥, and your favorite ingredients, and start creating your very own homemade pineapple coconut popsicles. It’s a refreshing, tropical treat that’s as healthy as it is delicious! 😋
Ingredients for Pineapple Coconut Popsicles
Pineapple. I use frozen pineapple in this recipe. But fresh or canned fruit will work as well. When choosing a fresh pineapple, look for pineapples with bright green crowns and a sweet aroma, indicating their readiness for consumption.
Coconut Milk. High-quality, full-fat coconut milk will lend a rich and creamy texture that perfectly complements the tangy pineapple flavor. Opt for unsweetened coconut milk to have better control over the sweetness levels and to keep the popsicles on the healthier side.
Sweetener. Consider incorporating natural sweeteners like raw honey or maple syrup. I usually add 1-2 Tbsp of pure maple syrup. Add more, if you have a sweet tooth.
Lime Juice. I add a splash of freshly squeezed lime juice to heighten the tanginess and bring out the flavors of pineapple and coconut. Highly recommend not to omit this ingredient.
Equipment to Make Pineapple Coconut Popsicles
High-speed blender is a must. As we need to achieve a smooth and velvety consistency, ensuring there are no lumps or uneven textures. I am using Vitamix Blender.
You’ll also need Popsicle Molds to shape and freeze your creations. Silicone molds are excellent choices as they make removing the popsicles a breeze, and their flexibility prevents any breakage during demolding. If you prefer wooden sticks over those that come with the molds, keep a pack of popsicle sticks handy to insert into the mixture.
Storing Suggestions
Transfer any uneaten popsicles from the molds into an airtight container or individual freezer bags. By doing so, you protect them from absorbing unwanted odors and ensure they retain their fresh tropical taste.
Store the popsicles back in the freezer, ensuring they are kept level to prevent any melting or loss of shape. Properly stored, homemade popsicles can maintain their taste and texture for up to 2 to 3 months.
Consider separating the popsicles with parchment paper or wax paper when storing them in the container. This helps prevent them from sticking together, making it easy to grab one at a time whenever the craving strikes.
Labeling the container with the date of preparation can also help you keep track of their freshness.
Removing the Pineapple Coconut Popsicles from their molds
To begin, take the popsicle molds out of the freezer and allow them to sit at room temperature for a few minutes. This brief thawing period will slightly loosen the popsicles from the molds, making them easier to release without any breakage.
Once the popsicles have had a chance to thaw slightly, gently twist and wiggle each mold to dislodge the popsicles. If the popsicles resist removal, avoid pulling too forcefully, as this may cause them to break or lose their shape. Instead, hold the mold firmly with one hand while using the other hand to apply light pressure around the sides of the popsicle, encouraging it to release.
For silicone molds, you may find that pressing from the bottom helps pop the popsicles out smoothly. If you encounter stubborn molds, consider running the outside of the mold under warm water for a few seconds. The gentle warmth will help loosen the popsicles without thawing them completely.
More Summer Recipes from NutriQuorum
Creamy Peach Frozen Yogurt Recipe: Healthy Summer Dessert
Nutritious & Colorful Fruit Salad Recipe
2-Ingredient Blueberry Popsicles (No-Sugar!)
Mint Chocolate Chip Ice Cream Made with Cottage Cheese
Chocolate Cottage Cheese Ice Cream (3 Ingredients & Kid-Approved!)
Tiramisu Chia Pudding – A Guilt-Free Dessert!
Fresh Watermelon Salad with Blueberries and Feta Cheese
Detox Water with Lemon and Mint: Refreshing and Healthy
Pineapple Coconut Popsicles-DIY Tropical Delight
Equipment
- 1 High speed blender
- Popsicle molds
Ingredients
- 3 cups frozen pineapple chunks 400 g
- 1 cup full fat creamy coconut milk sugar free
- 2 Tbsp maple syrup
- 1 tsp lemon/lime juice
Instructions
- Blend all ingredients in a high speed blender until smooth and creamy.
- Carefully pour the smooth base into the prepared popsicle molds, ensuring you leave a slight gap at the top to accommodate any expansion as it freezes. It makes 8-10 popsicles, depending on the popsicle mold's size.
- Put in the freezer for 4-6 hours.
- When waiting time is over, take the popsicle molds out of the freezer, remove them from the molds, and enjoy!
- Read the Instructions on how to remove popsicles from the mold in the notes or blog post above.